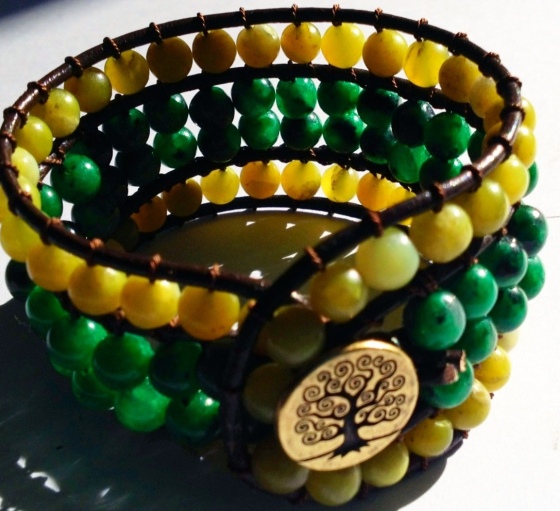
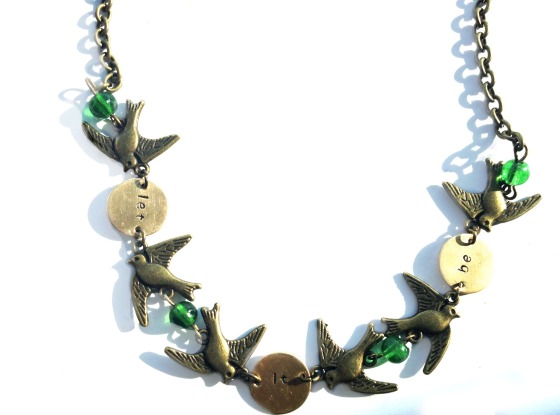
I know I haven’t posted new pieces in a few days, but, aside from being extremely sick and recovering at my parents’ house, I have been filling orders! One thing I really like to do when I send out an order, is send it in a nice little jewelry gift box. However, these little boxes can get really pricy, and that’s just another area where expenses can really add up. So, I decided to start making my own and repurpose old gift boxes that I’ve received and accumulated over the years. (My parents’ house is a gold mine for these little guys.) It’s a super easy project; making these boxes is quick, fast, and they are much cuter than the standard white/grey/brown gift boxes that still can run up to $3.00 a pop. Also, if you want to keep your creations, you can match these boxes to a room in your house, and use them as cute little storage containers. You can find any of the materials in your own home– and there is a lot of leeway with what you can use to make these boxes. I also think it adds a nice personal touch for customers,or for whomever is going to be the recipient of the gift, but maybe that’s just me!
What You Need:
1. Old Gift Box: (or even just a small box that held really anything you bought at the store, depending on how you want the box to open/look when you are finished.)
***For bigger boxes for displayed storage, you could definitely use a shoe box or an old packing box.
2. Glue: Elmer’s Rubber Cement is GREAT, but you can use Mod Podge (a favorite of mine), or even any old glue stick (as long as you make sure the paper is secured to the box well enough so that it won’t peel off).
3. Paper: I used scrapbook paper that I found at the bottom of my closet at my parents’ house, but you can get creative and use anything (newspaper, old destroyed book pages, magazine pages- get creative!)
4. Scissors
5. Pencil
Okay, the instructions are SUPER easy, but I’ll be as detailed as possible, just in case you reallllly like details!
Instructions:
1. Remove the lid of the gift box, and place the box on its side on the side of the paper that won’t be showing. Line up the top edge of the box with the edge of the paper, and trace along the top edge of bottom of the box where it meets the bottom edge of the first side of the box. Trace the two remaining edges of Side #1.
2. Flip the box right side up, and trace along the bottom’s 3 remaining edges.
3. Now, with the box resting right side up, flip it forward, so that it is again on its side (Side #2) and trace that side.
**Recap so far: So up until this point from the left: you traced the left side, rolled the box to the right and traced the bottom, and then rolled the box forward and traced Side #2.
4. Flip the box back so that its bottom rests on the paper inside the lines that you traced. Repeat step 3, BUT this time, roll the box back toward you to trace Side #3 (opposite from side #2)
5. Flip the box back to the center, so that it is in the position from step 2. Roll it to the right so that it is on its 4th and final side, and trace around that.
Here is a pictures of how it should look when you are done tracing:

6. If the box has a removable lid, repeat steps 1-4 above for the lid.
7. Cut along the outer lines that you traced.
8. Bend each of the 4 side pieces, (they stick out from the center piece) toward you along the lines that make up the outer lines that you traced around the bottom. The paper, in 3-D now that it is folded, should fit around the bottom of the box and its 4 sides perfectly.
9. Cover the bottom of the box, and the 4 sides- or cover the side of the paper where you have traced around the box in glue(they will have the same result) and place the box inside the little shell you have made, and press the paper against all the sides of the box, making sure it sticks around all of the edges.
10. If the box has a lid, Repeat steps 7-9 for the lid.
Let it dry.
Anndddd you’re done. You now have a cute little box that you can use as storage, or to hold a gift.


Looking at the steps, this project may seem time consuming, but I just got a little wordy… definitely more than necessary. It took me all of 3 minutes from start to finish to create the box shown above. I made it while watching tv- my pencil broke and I had to locate a pen, and I dropped the glue under the bed (I’m sick so I’m operating out of my bed. So, I’m being lazy, sue me.) Anyways, in short, this is an incredibly fast, cute, and most importantly, money saving project. It may even be time saving if, like me, you spent several hours trolling the internet looking for a deal on gift boxes to order in bulk, or have to run to the store to buy a gift box every time you give a present.
Hope you like this tutorial!


